White Cotton Blouse
White Cotton Blouse
Updated, January, 2025
What was the inspiration for making this blouse? I’ve been craving a classic long sleeved, white blouse for some time now, and really hadn’t seen anything I truly loved in the shops or online. I had a fairly clear idea of what I wanted in mind, so started perusing patterns with the intent of making one myself.
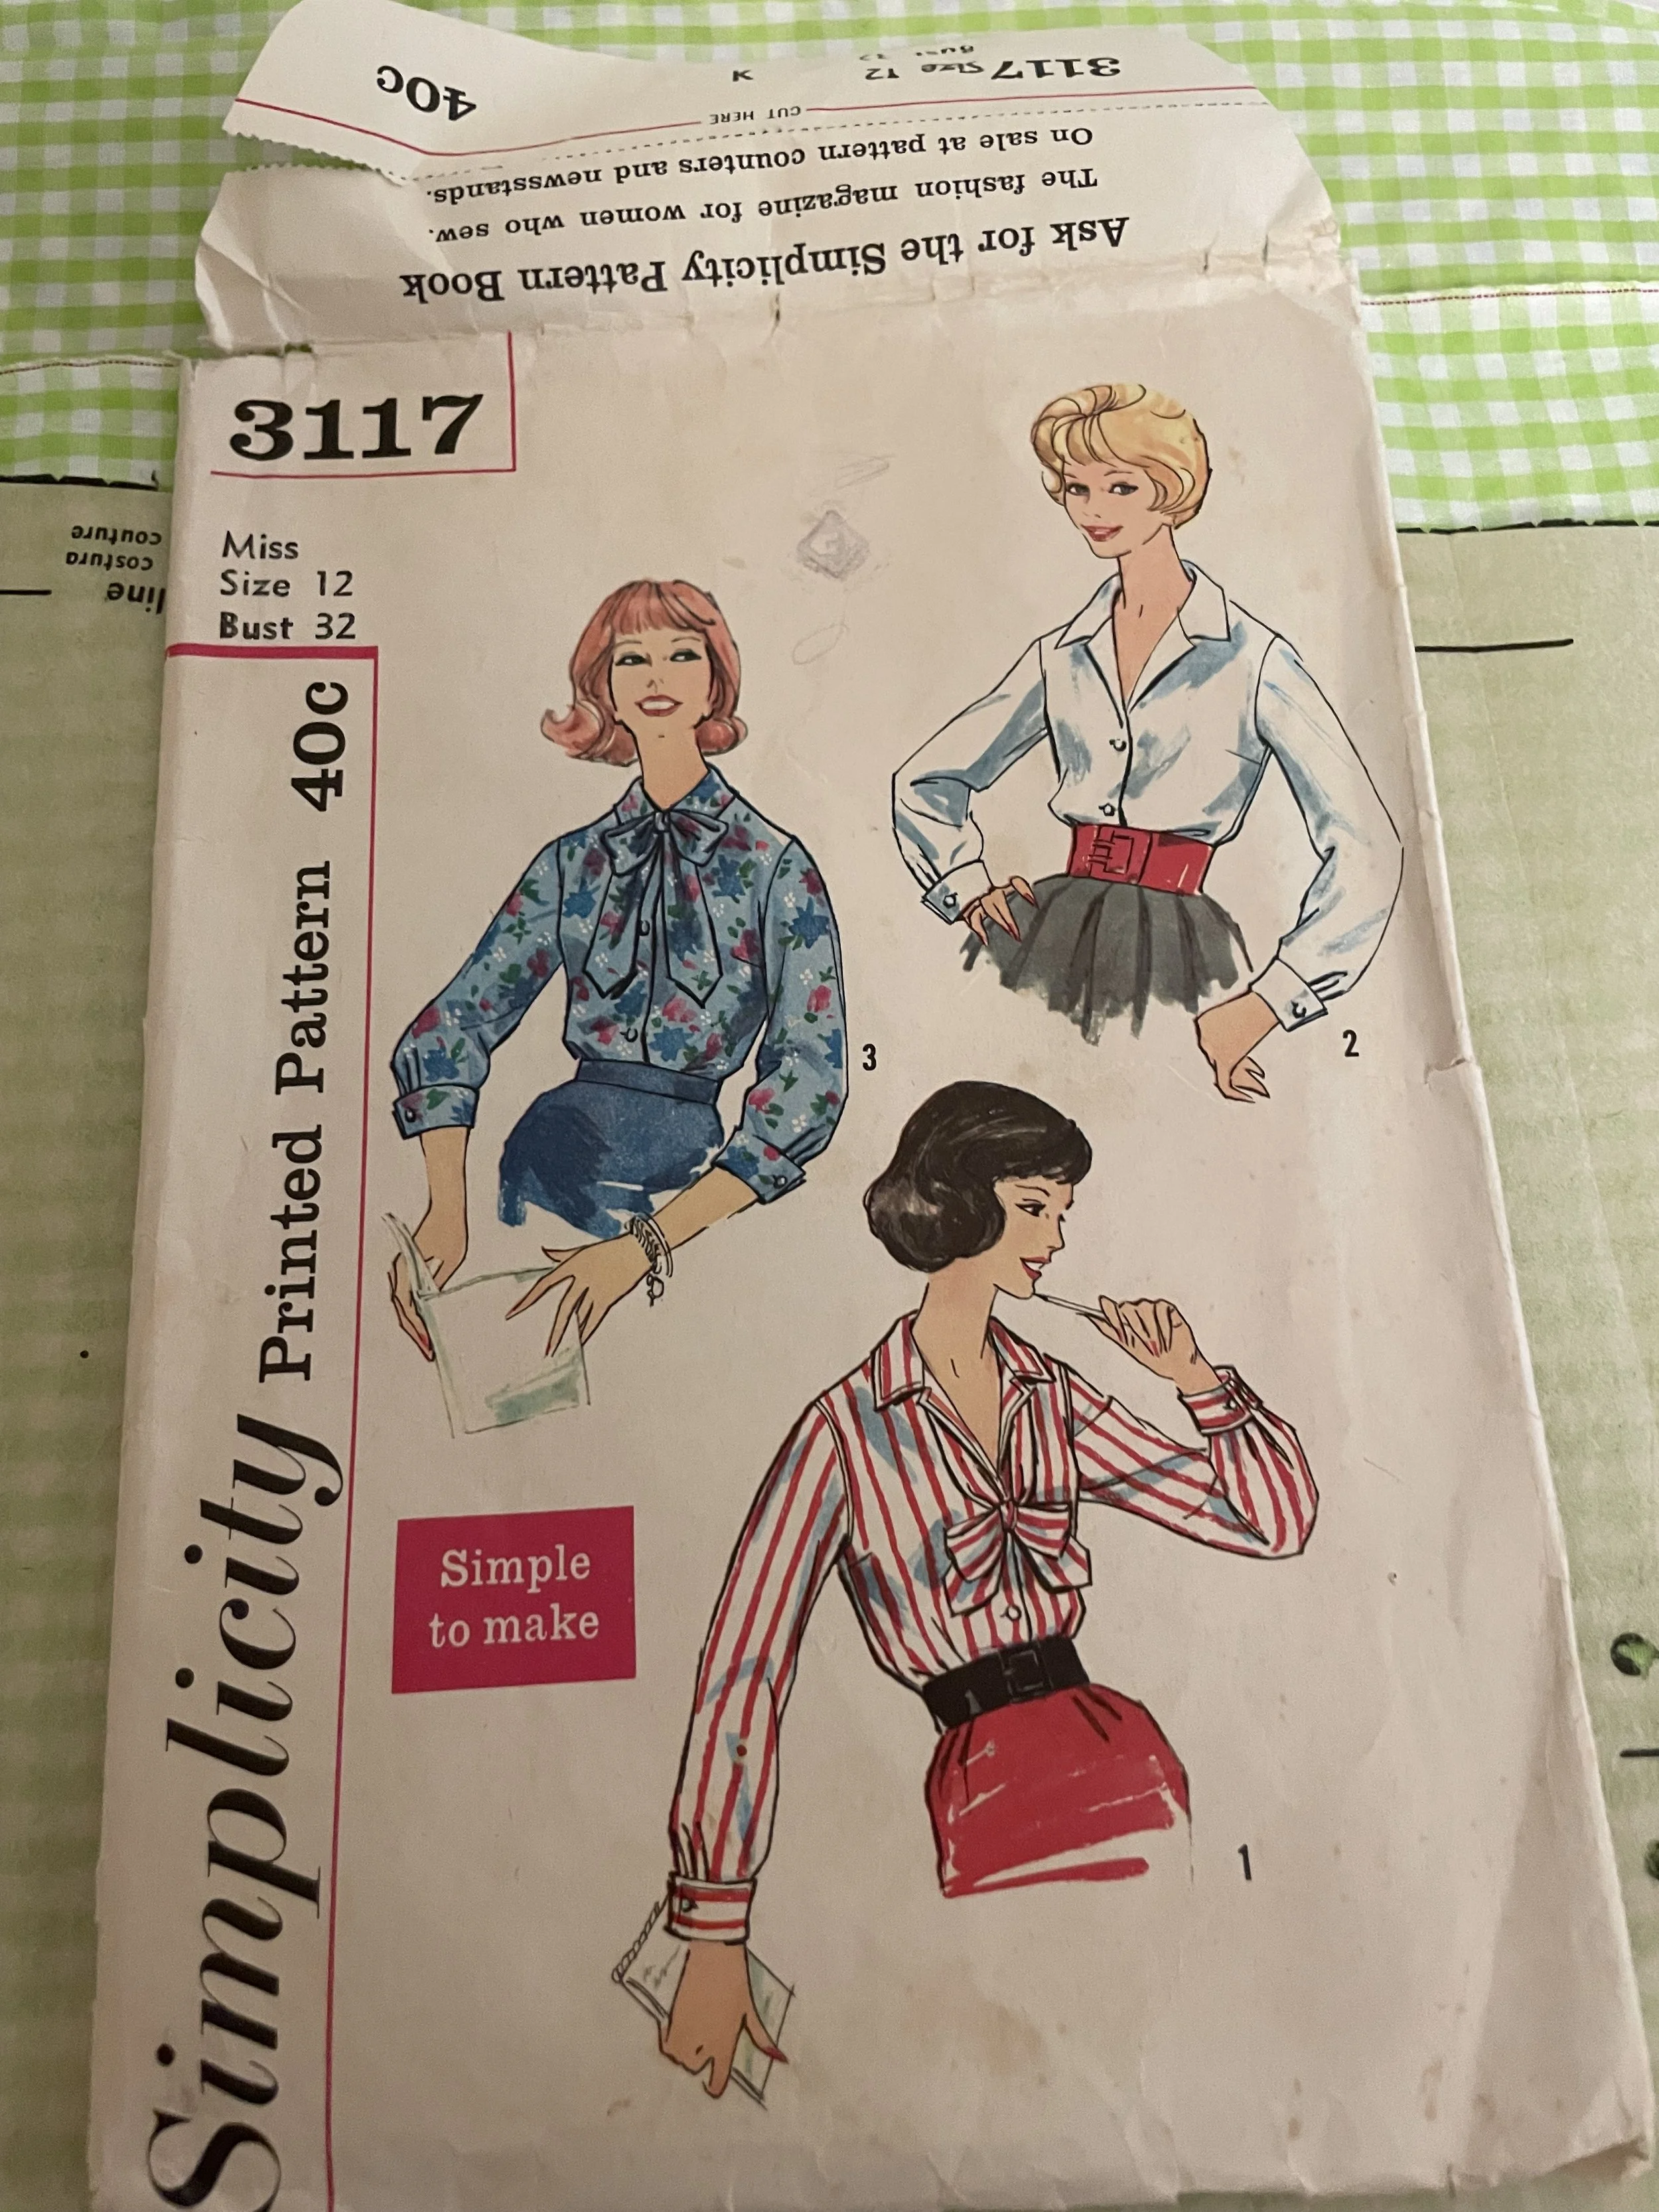
This pattern came from a recent trip to the Toronto VintageShow. The blouse shown at the top right was starting to look about right.
Jan./25 - I eventually made this one too and it was a great learning experience. #campcollars
Still, purchasing a used vintage pattern was a bit of a crap shoot. Would it be useable? Jury’s still out on that one. (Stay tuned for another blogpost! )
(Jan./25 - actually it all worked out, but I would caution this. In my case all pattern pieces were in tact, thank goodness!)
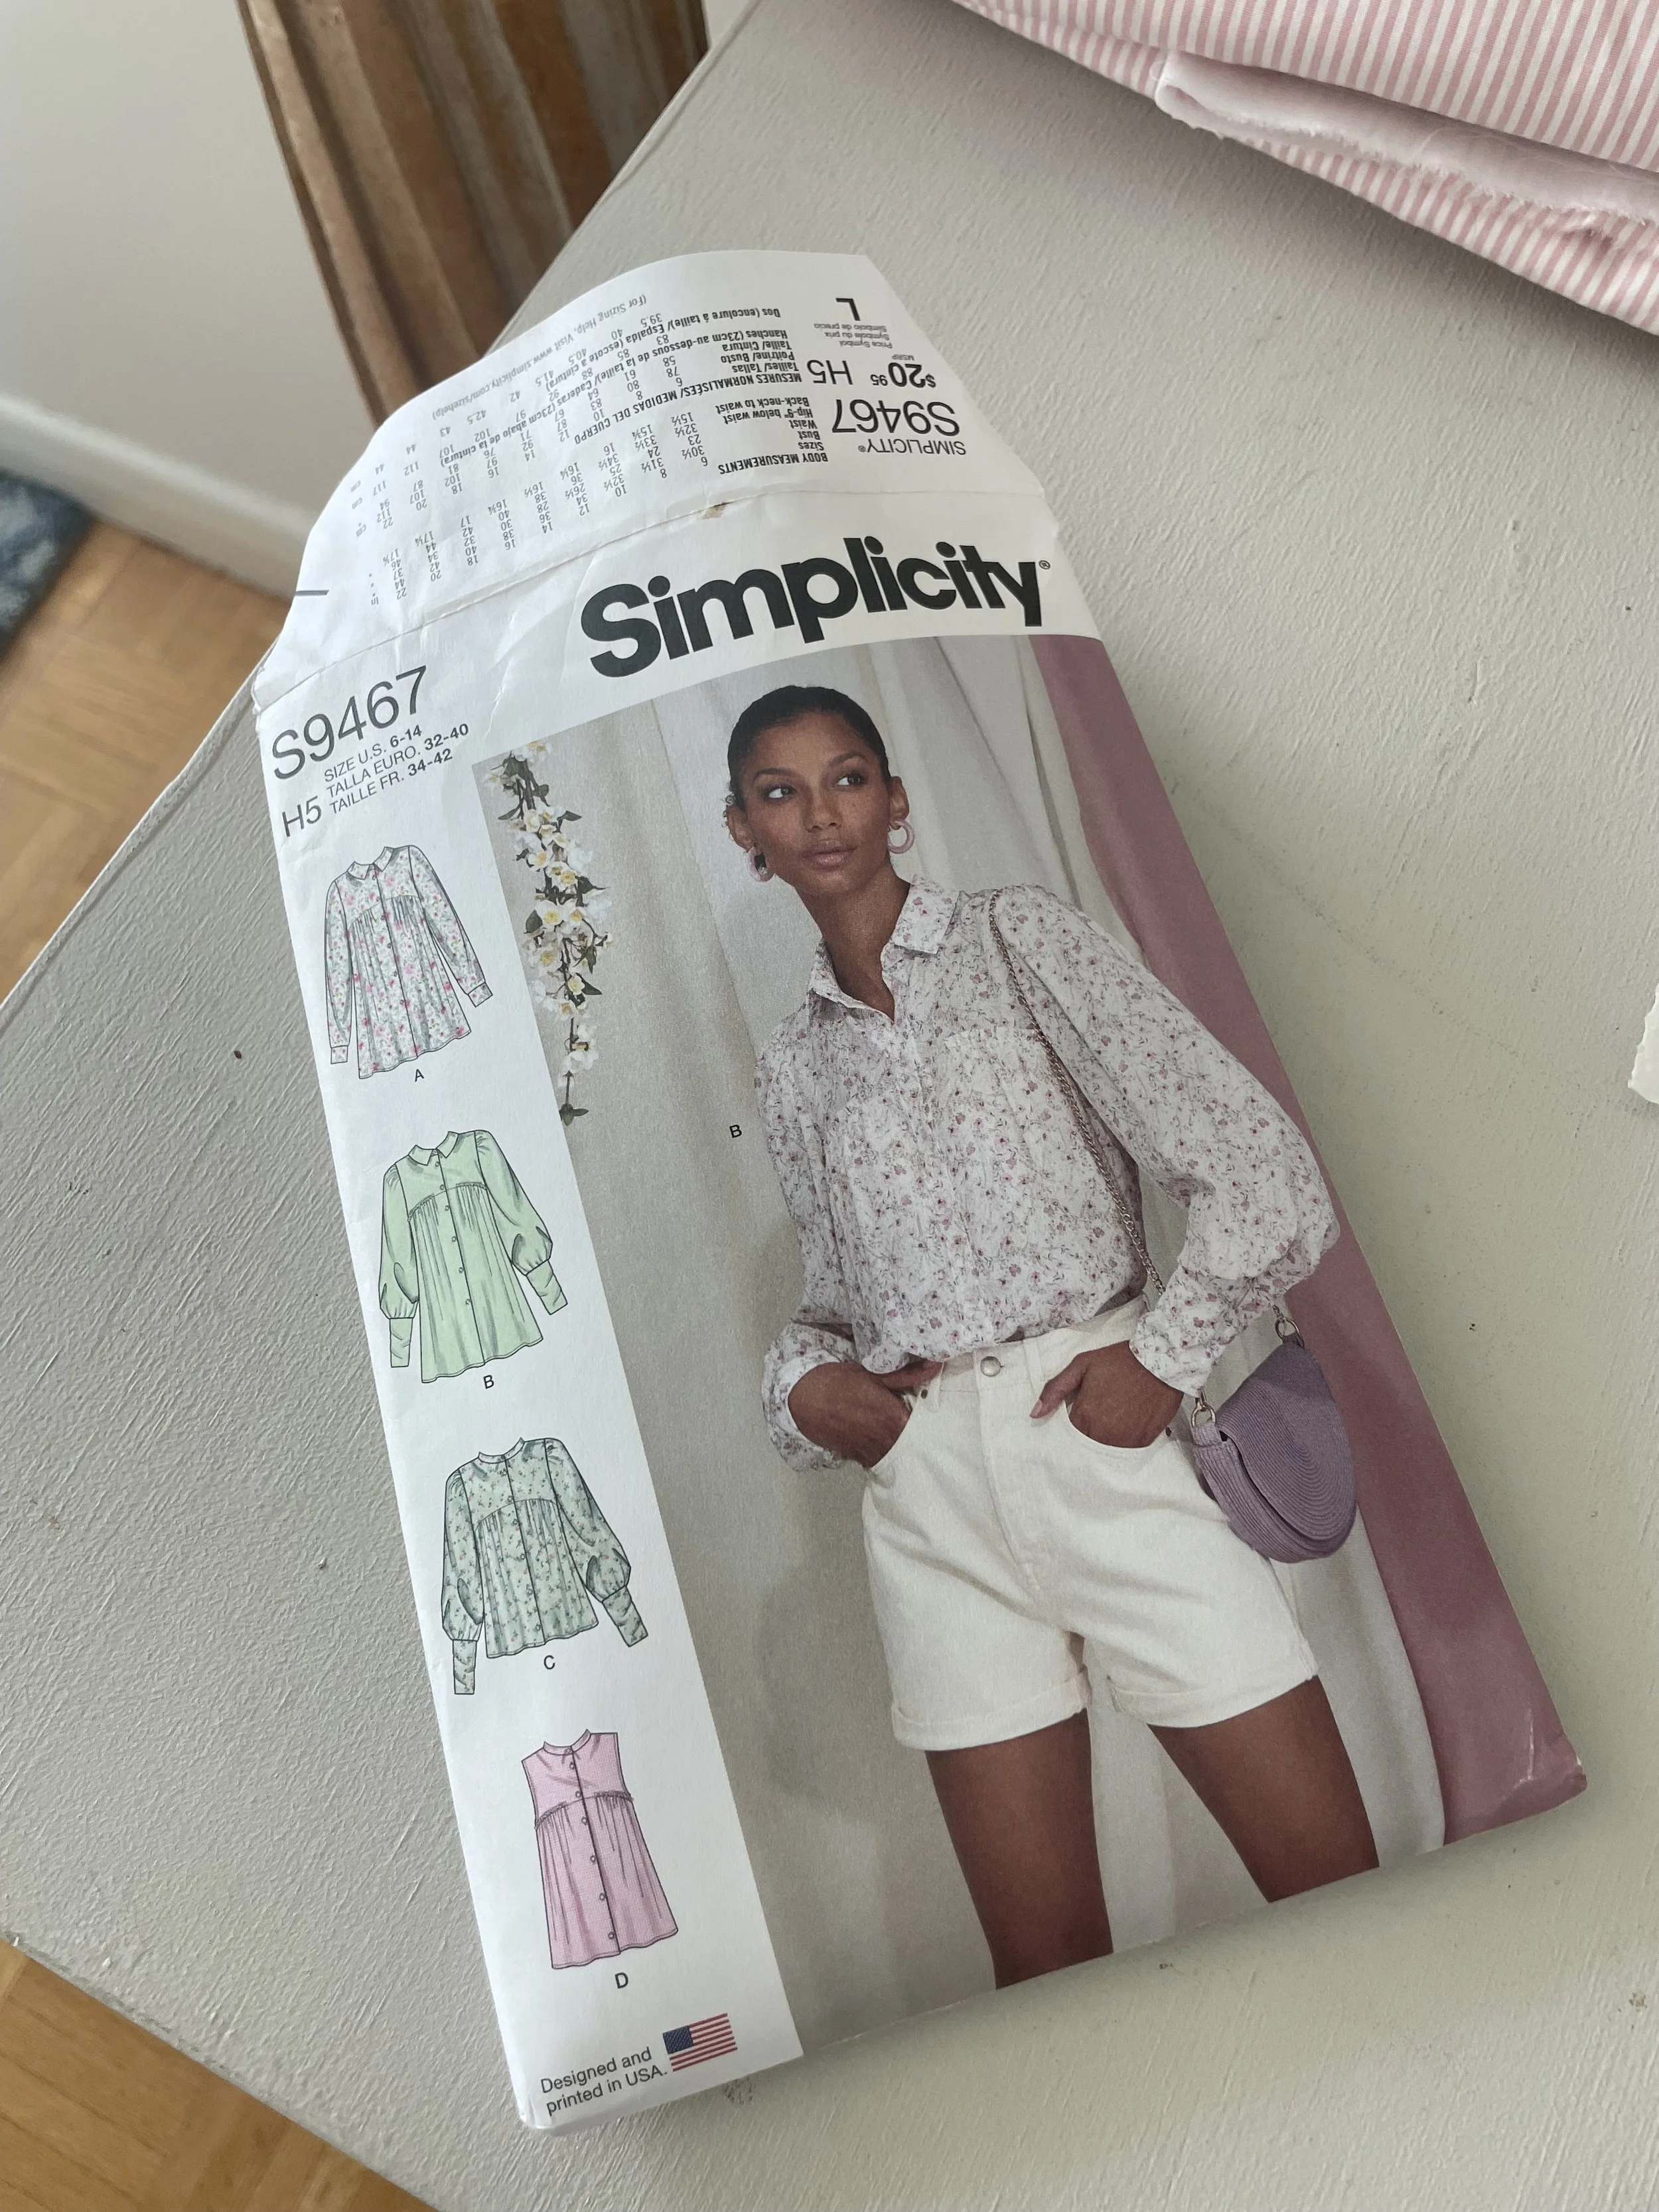
Next came our recent trip to Hilton Head, SC, and a visit to a Joann store. For those of you unfamiliar with this store chain, which I believe has recently entered the Canadian market, it seems to be a cross between Fabricland and Michael’s craft store. (Jan./25 - I am not sure if Joann still exists. I seem to recall hearing it was going out of business.)
My sweetie dropped me off at one located in Savannah, Georgia with instructions to “pick me up in an hour”. I was a half hour late. An hour and a half can go by very quickly!
In I went with my list in hand - oh, yes! It’s like going to Costco without a list when one goes to a fabric store. It can be very overwhelming! All that pretty fabric!! I had perused the patterns available the night before, so I stayed focused. Well, as best as I could… and collected my patterns, fabric, notions, etc. Made it out in one piece with a hole of about $250 USD in my pocket. Phew!!
The winning pattern had been scored!
This was a good choice for making the desired white cotton blouse. I have since made it several more times. In recent iterations, I have switched up the yoke, collar, and cuffs fabric from the main body of the fabric for a more bohemian look. Photos below.
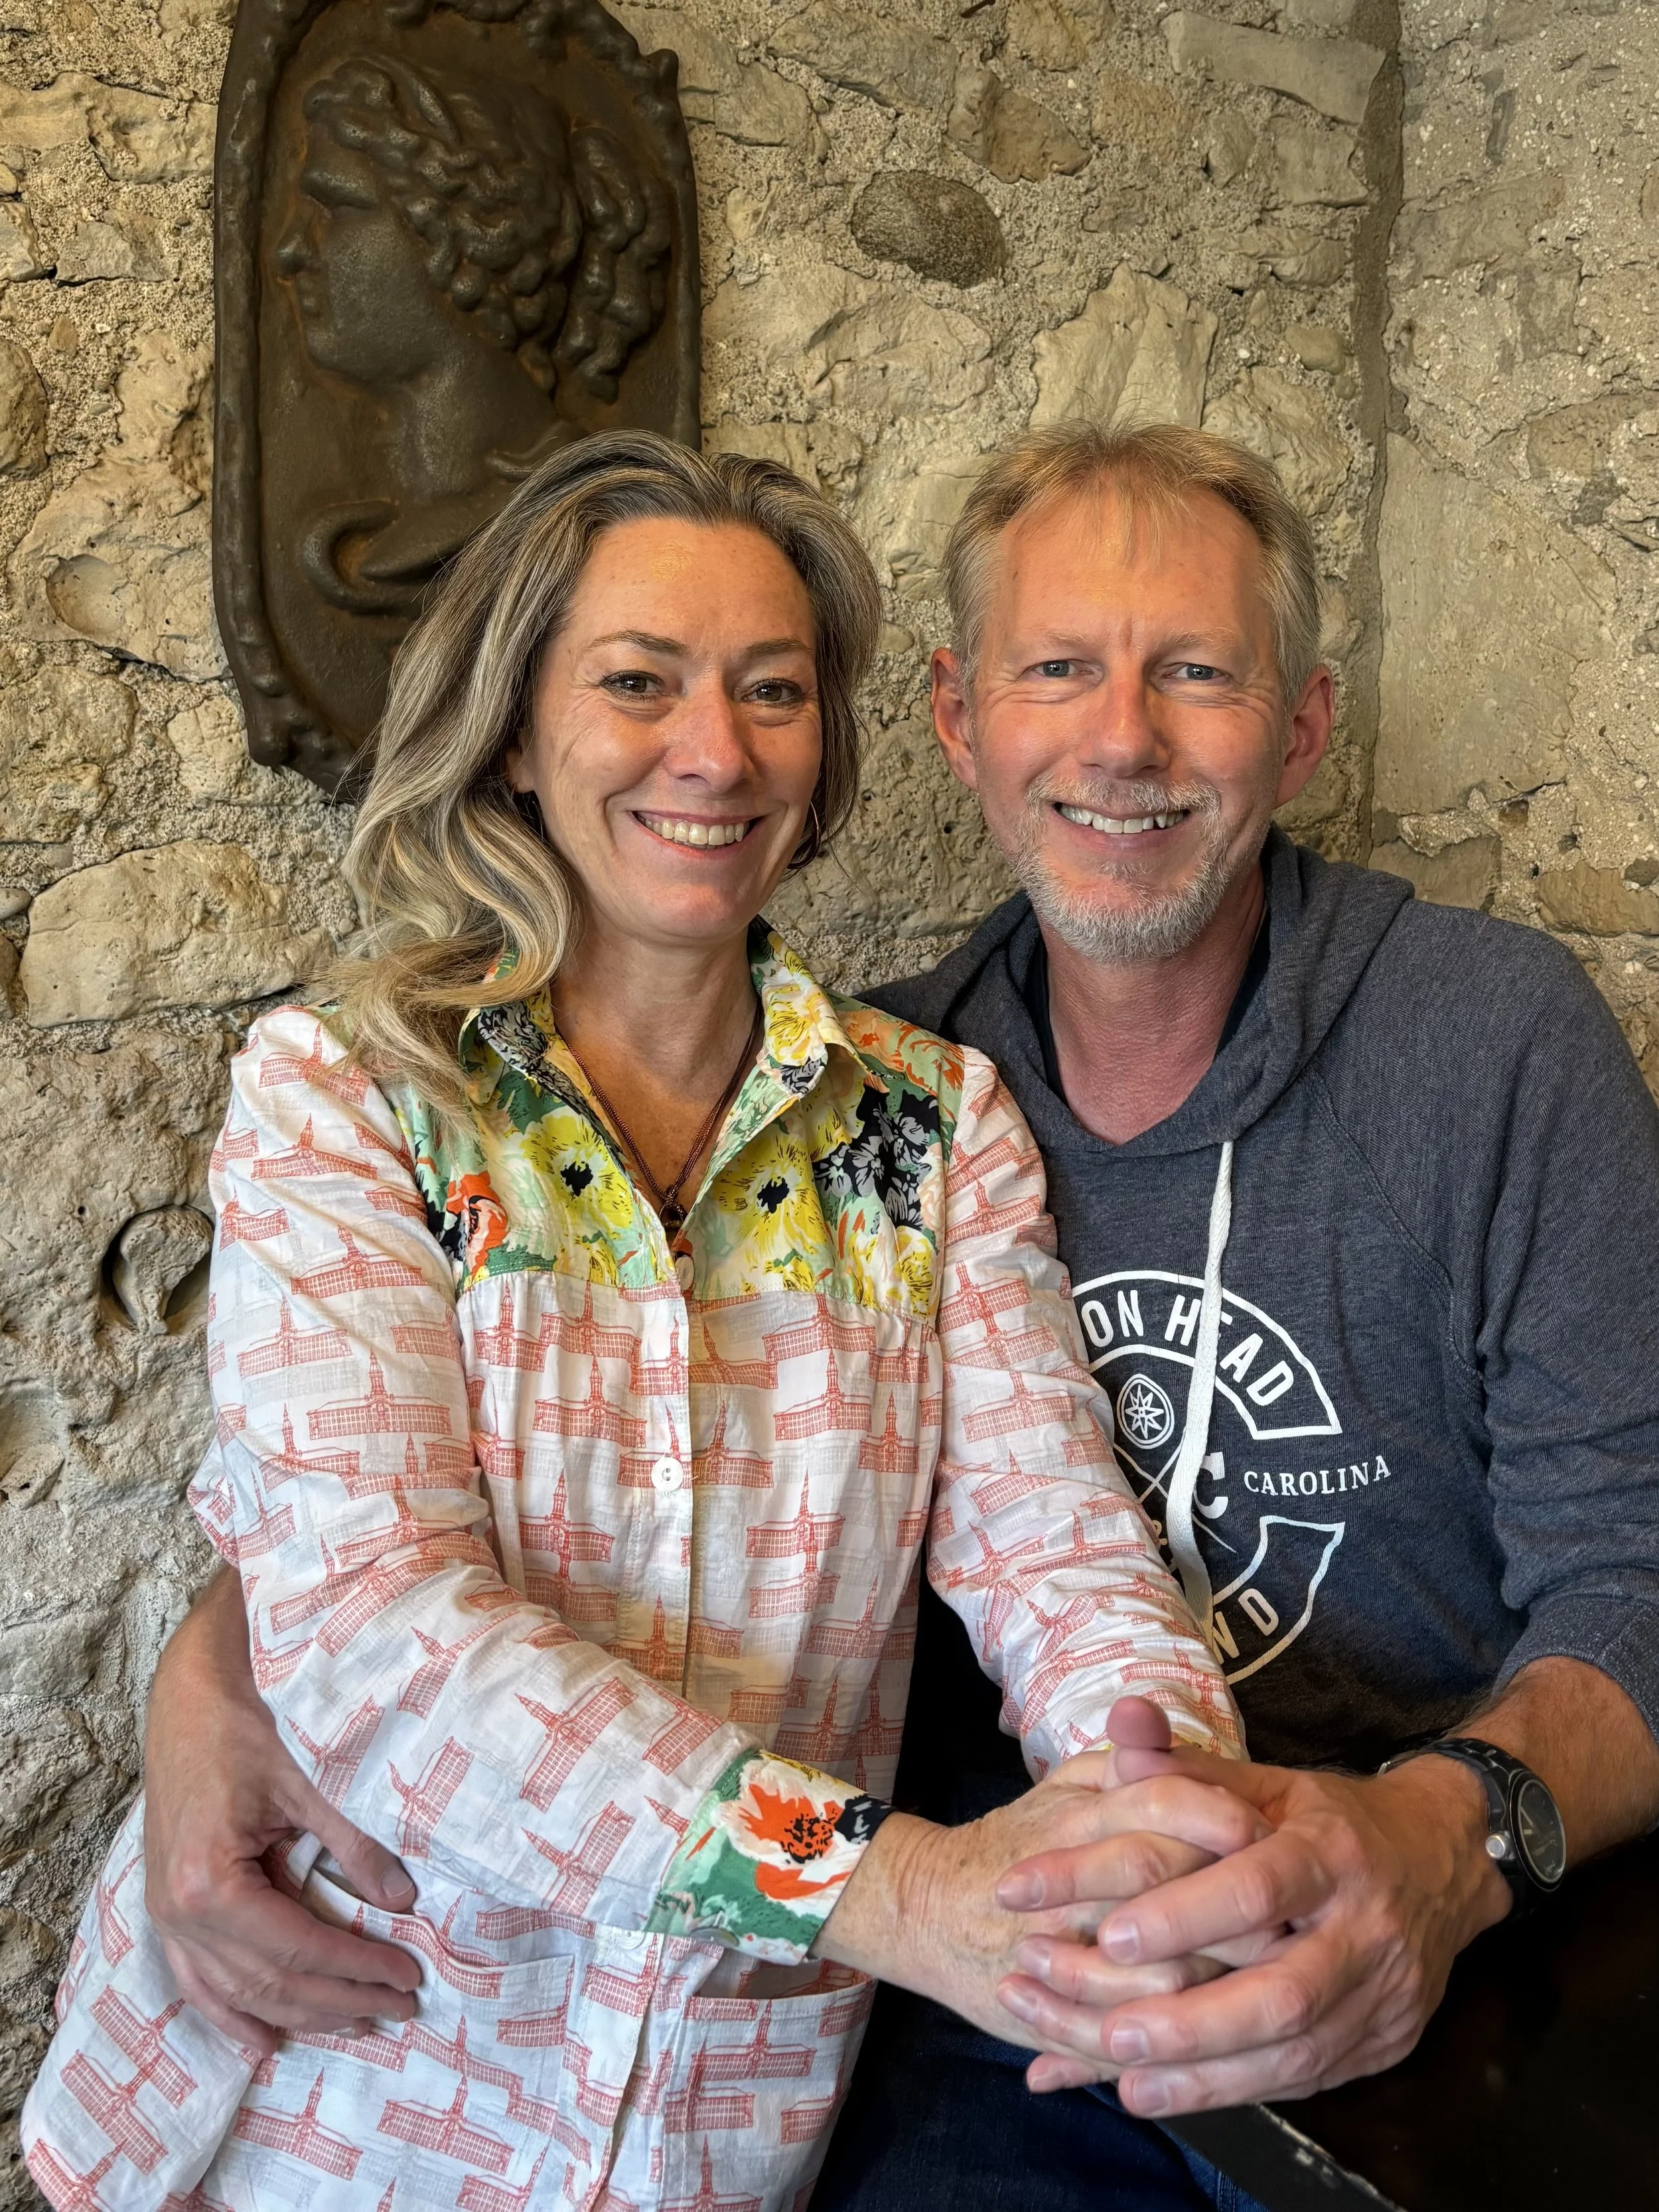
Jan./25 - I found this interesting ‘Parliament Building’ fabric on sale in Fabricland. I had the contrasting fabric in my stash and thought it paired well. I copied the pattern onto the insides of the yoke as well as the outsides so that it has right sides fabric peeking out. I almost always wear an undershirt, so this blouse can be unbuttoned and all that beautiful fabric is on display.
I also added pockets to the blouse because I seem to need pockets more and more these days. It was a challenge lining up those buildings, but I succeeded.
I love this version of the blouse, and I am sure I will make it again. It would be lovely in #flannel or #viyella.
With lovely brocaded cotton fabric washed, dried and pattern in hand, I embarked. Nearly. If there is one thing I’ve learned about sewing it is that mistakes happen. In my case, lots of them! I have made it a habit to test elements of a pattern if not the whole thing with a pre-make. Typically I use thrift store fabric of good quality so, if I mess up, (and I often do,) it’s just all part of the learning process.
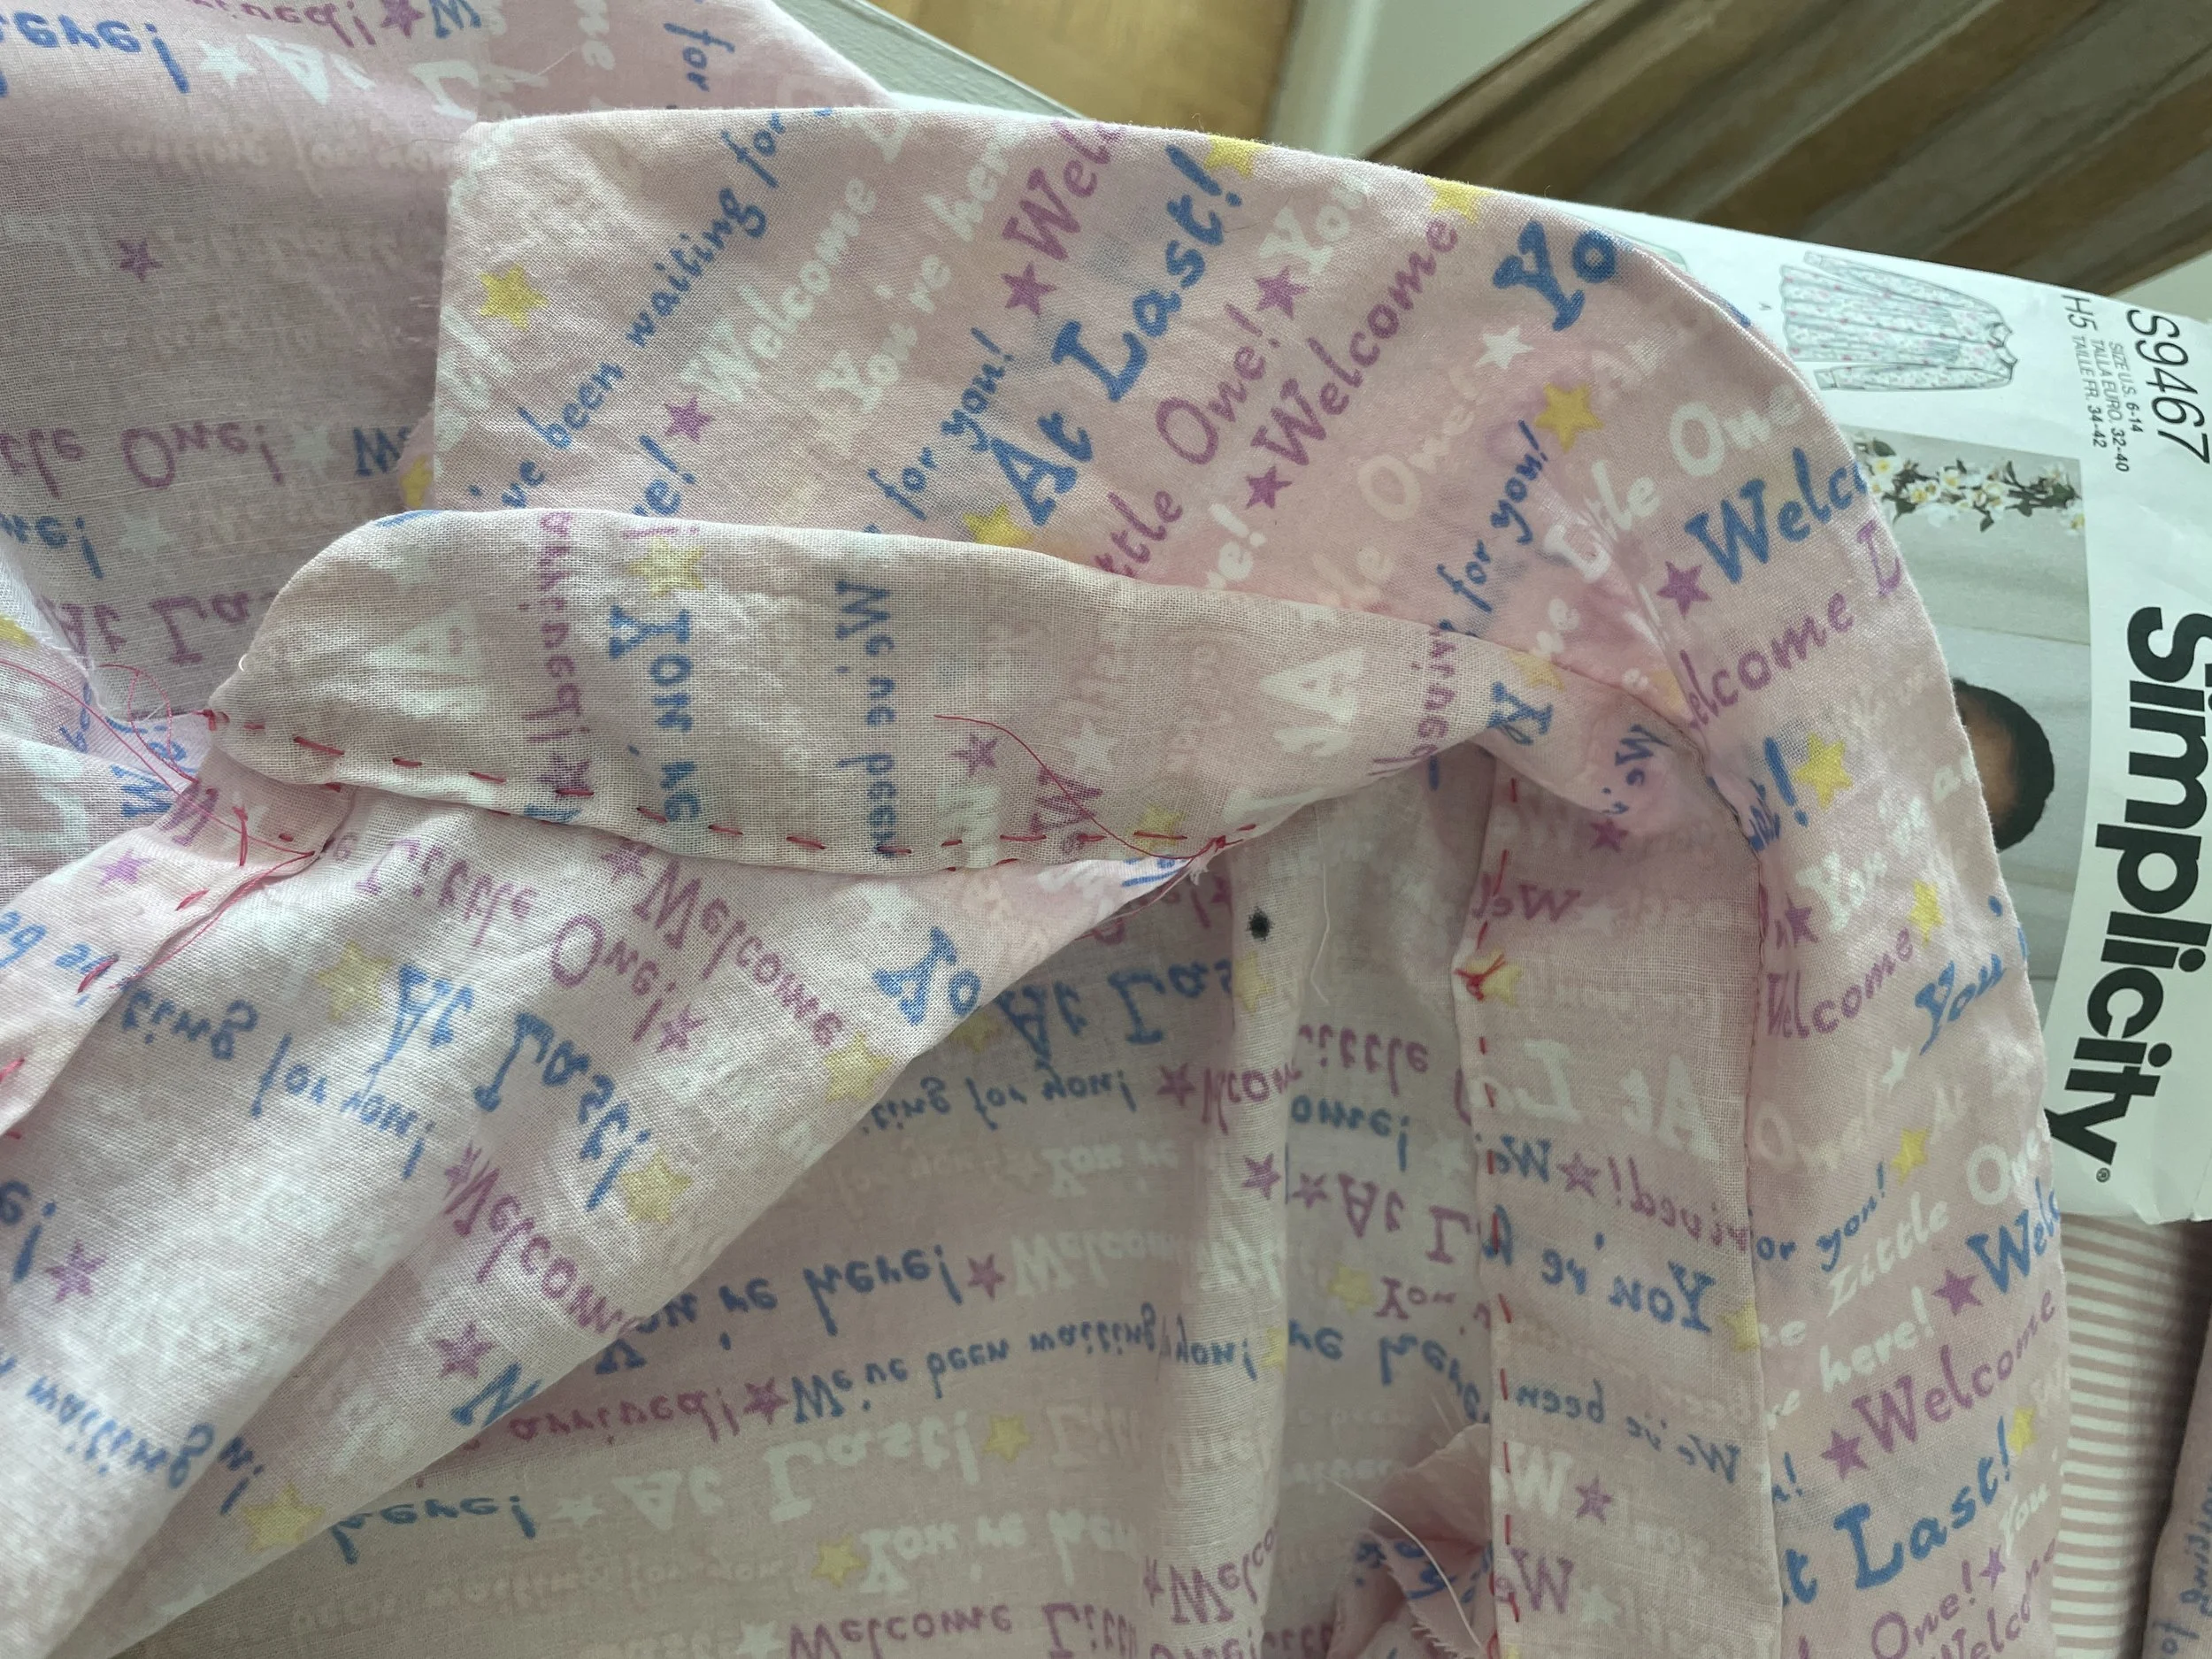
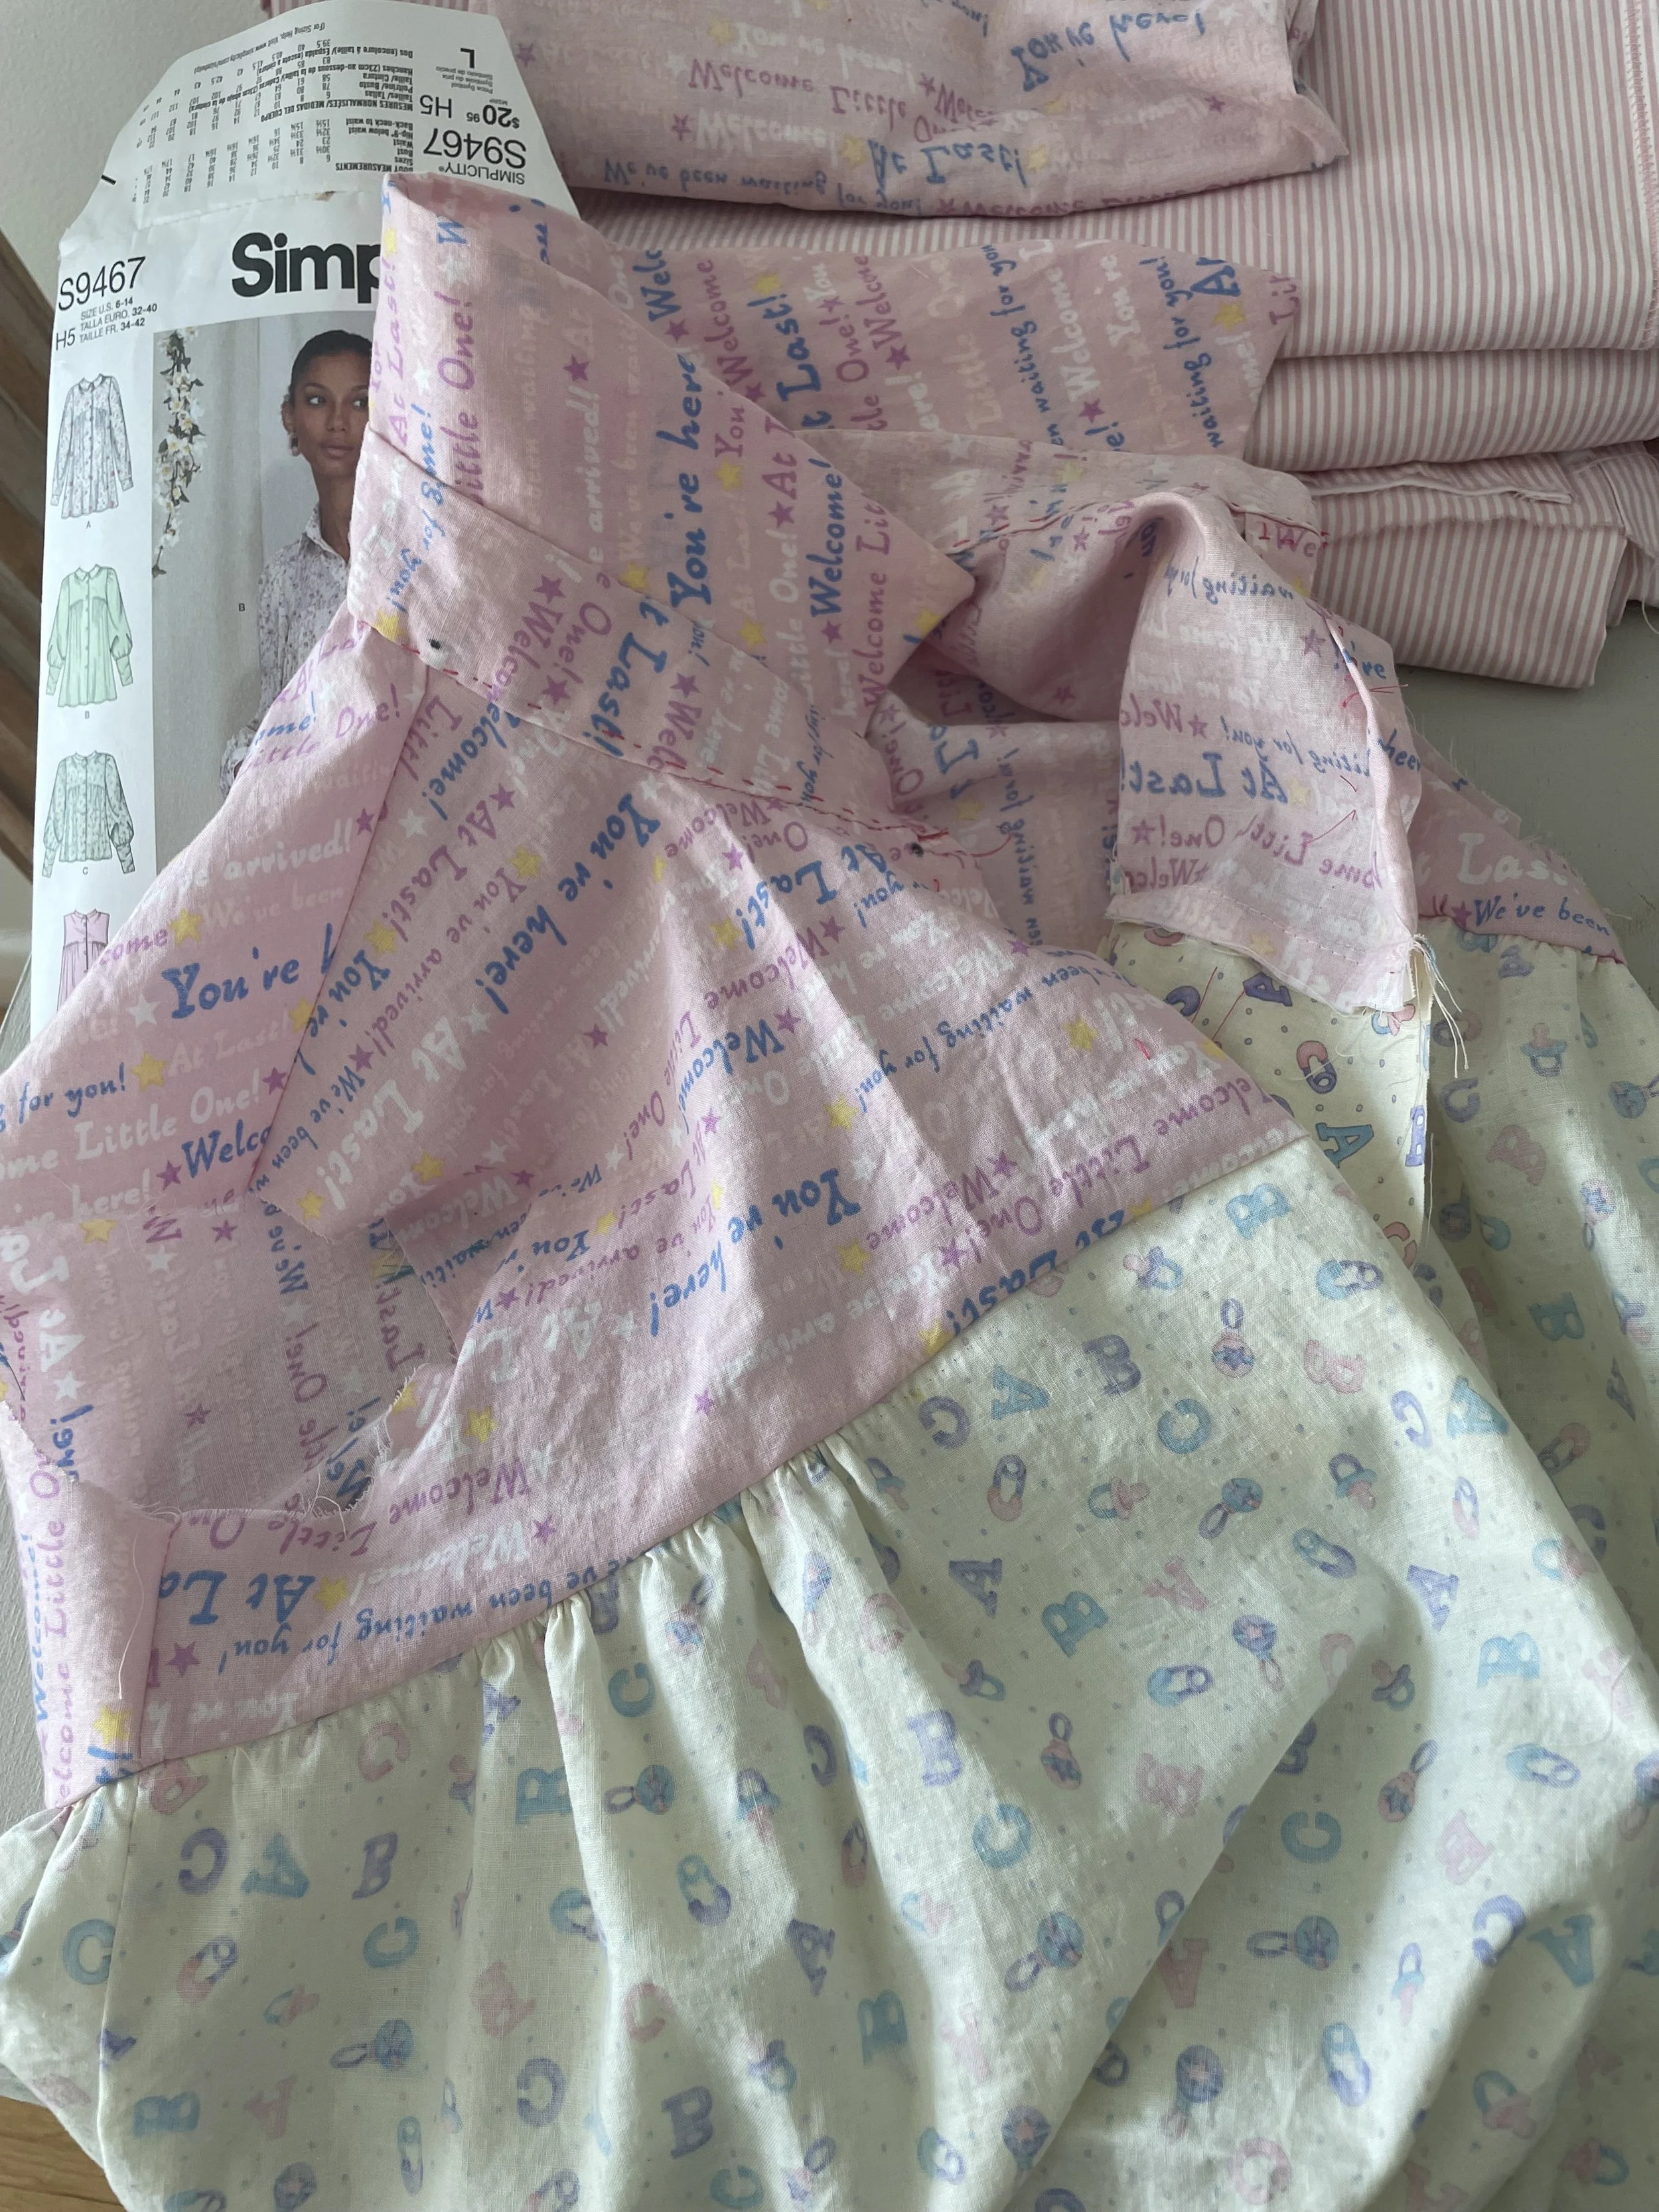
Thrift store “Welcome Baby” fabric came in handy for test driving the collar and yoke sections.
I’m always keeping an eye out in my favorite thrift stores for good quality fabric for test driving patterns or small sections of patterns. It’s an inexpensive way to improve skills and test sizing before diving into the expensive stuff.
Sewing tools I’ve added to my arsenol.
Crayola Washable Markers for marking the fabric are a god-send!
The point-y end of the white stitch ripper is very handy for poking out the tips of the collar. Makes a good, crisp finish.
It was the collar and collar stand that I needed to work my way through. I was satisfied and ready to move onto the real deal fabric.
Modelling the blouse.
Adding two different jackets to enhance the ‘at the office’ look.
I’m already loving this blouse, and wearing it frequently. It has enjoyed rave reviews! I can see me getting a lot of wear out of it, and being able to dress it both up and down. I am looking forward to making it again in a variety of different fabrics. I will certainly use some even sleeker fabric such as by Liberty Fabrics.
Some final thoughts, and alterations I will make next time around. I made this pattern in size 8, and although the overall body of the garment fits very well, the sleeves, particularly around the armholes were too small. I reduced the 5/8th seam allowance as far as I could (right down to the serged seam) and re-sewed a new seam for about three inches gradually joining it back up to the original 5/8th seam allowance. The other adjustment I will make is around the cuff button holes. This was a mistake on my end. I didn’t properly place these and they are a little tight. So, next time, I’ll be sure to give myself a little more room at the cuffs.
Jan./25 - I have found that commercial patterns seem always to be too tight across the back and therefore at the sleeves too. I am not a particularly large woman, so I wonder if other sewists struggle with this too? My sister is very petite and she has the same issue. I have learned to adjust the upper backs of patterns by adding at least one size up and at the tops of the sleeves too. I taper the sleeves from larger to smaller at the cuffs using ruler and pen. So far, this is working out well.
I hope you enjoyed this blogpost.
I welcome your questions, feedback and comments.
Happy sewing!

